Step-by-Step Guide to Make Perfect Baking Bread Straight from Liquid Bread Starter - Simple and Basic Rolls
Hey everyone, I hope you're having an amazing day today. Today, I will show you a way to make a distinctive dish, Simple Way to Prepare Super Quick Homemade Baking Bread Straight from Liquid Bread Starter - Simple and Basic Rolls. It is one of my favorites food recipes. For mine, I'm gonna make it a bit unique. This will be really delicious.
Let us face it, cooking isn't a high priority from the lives of every man, woman, or child on the planet. In actuality, way too individuals have made learning to cook a priority in their own lives. Which means that people often exist on convenience foods and boxed mixes rather than taking your time and time to prepare healthy food to the families and our own personal enjoyment.
Healthy cooking is often difficult since most people don't want to spend time planning and preparing meals that our own families will not eat. At exactly the exact same timewe need our families to be healthier so we are feeling compelled to learn improved and new methods of cooking healthy foods for the family to enjoy (and unfortunately in some scenarios scorn).
Lettuce wraps. All these mike delightfully flavorful lunch treats along with the filling can be ready in advance, which leaves just reheating the filling and wrap when you're all set to eat. This is really a fun lunch to talk with your kids also it teaches them that lettuce is a great deal more elastic than people often give it credit for being. Many individuals decide to choose a teriyaki motivated filling; my family enjoys taco inspired fillings for the lettuce rolls. You're absolutely free to come up with a favourite satisfying of your individual.
Many things affect the quality of taste from Baking Bread Straight from Liquid Bread Starter - Simple and Basic Rolls, starting from the type of ingredients, then the selection of fresh ingredients, the ability to cut dishes to how to make and serve them. Don't worry if you want to prepare Baking Bread Straight from Liquid Bread Starter - Simple and Basic Rolls delicious at home, because if you already know the trick then this dish can be used as an extraordinary special treat.
To get started with this particular recipe, we have to first prepare a few ingredients. You can have Baking Bread Straight from Liquid Bread Starter - Simple and Basic Rolls using 7 ingredients and 21 steps. Here is how you cook it.
I'm into baking bread from natural leaven, but when I tried baking from a liquid starter, it was hard to knead and took too much time. Bread baking is tricky, but by using this moderate amount of bread flour (160 g), which is what they use in my basic cooking class, it will be easier to knead. Using a domestic flour blend (I used "Haruyutaka"), about 60 g of flour was sufficient. Use a tad more in the winter. Adjust the amount of water depending on your bread flour and climate. While you may allow a lot of time for the first proofing, time for the second proofing should be shorter in order for a tasty result. Keep an eye on the dough during the second proofing. For 190°c, about 14 minutes. Recipe by Choco dayo
Ingredients and spices that need to be Take to make Baking Bread Straight from Liquid Bread Starter - Simple and Basic Rolls:
- 160 grams Bread (strong) flour
- 1 tbsp Sugar
- 1 tsp Skim milk powder
- 50 grams Raisin liquid bread starter
- 65 grams Lukewarm water
- 1/4 tsp Salt
- 10 grams Unsalted butter
Instructions to make to make Baking Bread Straight from Liquid Bread Starter - Simple and Basic Rolls
- Combine all of the ingredients in a bowl except for the unsalted butter, bring it together into a ball and place it on a work surface to knead.
- Knead the butter into the dough. Press the dough down on the work surface and knead it for 5 minutes in a motion resembling washing with a wash board.
- Once the dough comes together, knead by pressing and pulling it in a "V" along your work surface while putting your weight into it.
- Seal the underside once the surface is no longer rough and the ingredients have combined evenly, and smooth out the surface. Place in a bowl and cover with plastic wrap.

- The first proofing is complete once it has doubled in size. (For those concerned about drying out the dough, place it into a plastic bag or Styrofoam container with a cup of lukewarm water and let it rise.)

- Divide into 6 equal portions with a scraper. Gently stretch out the dough to release the air, then roll each portion into a ball. Sprinkle with a bit of flour if they stick to your hands. Flip the bowl that you used for the proofing over top of the dough to prevent it from drying out, and let it rise for 20 minutes.

- Gently release more gas from the dough and roll them back into a round ball. Arrange them with the seams down on a baking tray lined with parchment paper.

- Place the whole pan into a large plastic bag along with a cup of lukewarm water to prevent it from drying out, and let it rise for the second time.

- The second proofing is done once they double in size.

- Bake in an oven preheated to 190°C for 14 minutes. (Adjust the heat according to your oven. They will bake more evenly on a round pan.

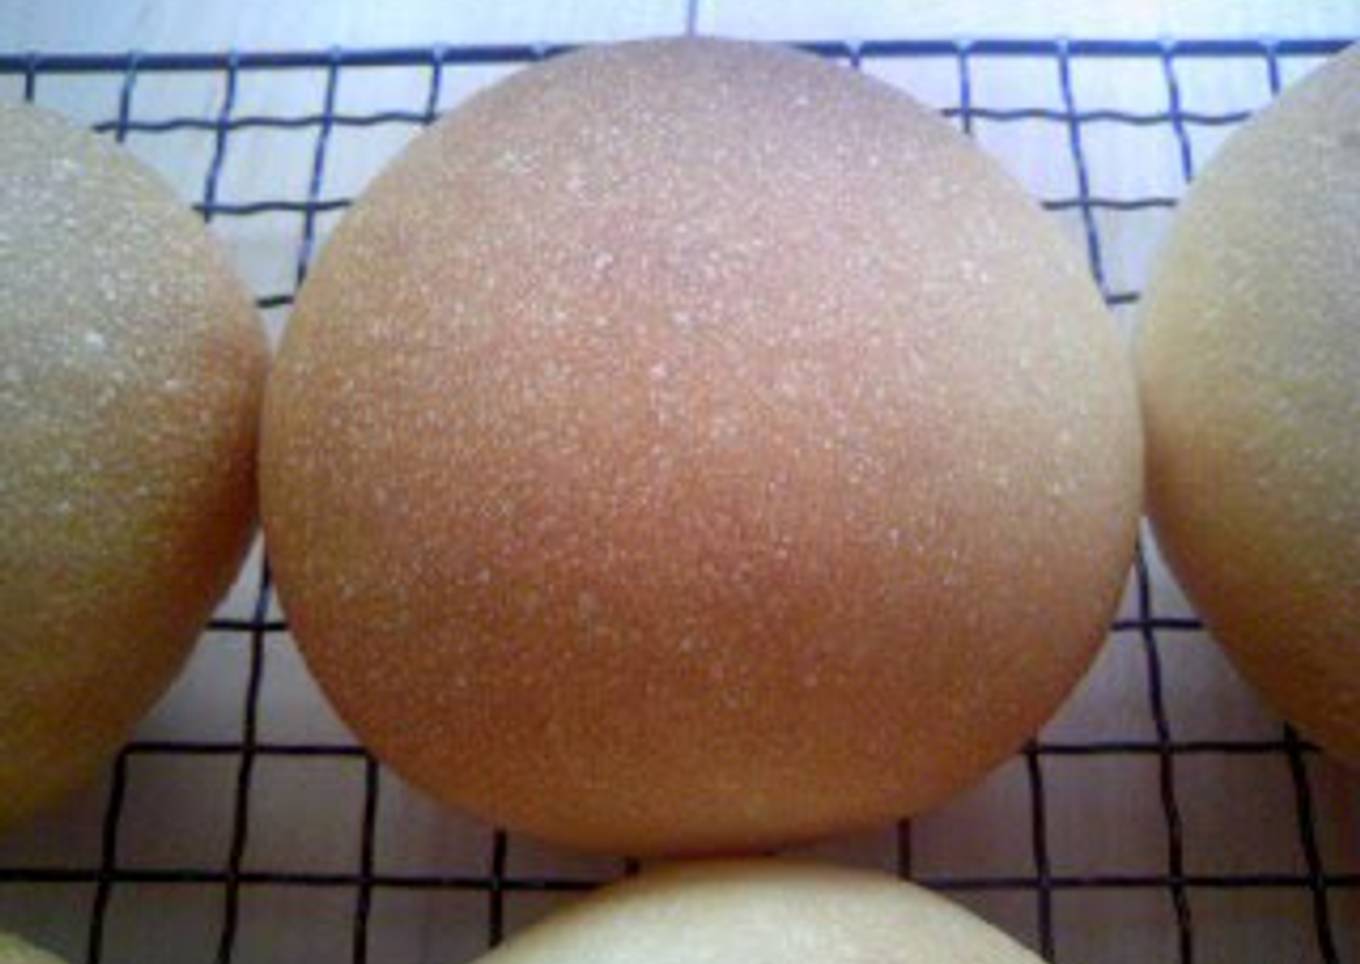
- They're done!

- They taste good as is, but you can also cut them in half and eat them with condensed milk cream.

- Or, as hamburger buns.

- I eat them with roast beef.

- Or bake them with an anko (sweet adzuki bean paste) filling.

- Layer the top with cookie dough for a "melon" bread.

- Or, without dividing up the dough, roll it into a flat square, spread on some cream cheese, roll it up into a log, then cut it into 6 pieces and bake.

- Knead in a few more grams of water, then add dried blueberries right before you complete the kneading, then let it rise. The berries will be nice and plump when you take that first bite.

- Here it is with a sweet peanut cream filling and topped with almonds. I baked it as a danish-type roll.

- Here they are baked topped with wieners, leftover curry, and melting cheese. Since the dough is not too sweet, it goes well with savory toppings.

- Here it is after cutting the dough in half and baking them in miniature pound cake molds with a sugared or buttered top. Right before baking, slash the tops with one shallow cut along the top, then arrange finely diced pats of butter along the top.

Additionally you will discover as your own experience and confidence grows you will see your self more and more regularly improvising when you proceed and adjusting recipes to meet your own personal preferences. If you'd like more or less of ingredients or want to produce a recipe somewhat less or more hot in flavor that can be made simple adjustments on the way to be able to achieve this objective. Put simply you will start in time to create meals of one's individual. And that is something you won't fundamentally learn when it comes to basic cooking skills for beginners but you would never know if you didn't master those simple cooking abilities.
So that is going to wrap it up with this special food Steps to Prepare Favorite Baking Bread Straight from Liquid Bread Starter - Simple and Basic Rolls. Thanks so much for reading. I'm confident that you will make this at home. There's gonna be more interesting food in home recipes coming up. Remember to save this page in your browser, and share it to your family, colleague and friends. Thank you for reading. Go on get cooking!
Post a Comment for "Step-by-Step Guide to Make Perfect Baking Bread Straight from Liquid Bread Starter - Simple and Basic Rolls"